

It’s easy to get excited about adding a new decal to your car, especially if it’s the final touch that brings your look together. But here’s the thing—how you apply it matters just as much as the design itself. Miss a step, and you might end up with creases, peeling edges, or worse, a decal that doesn’t last the week.
So, if you're the kind of person who takes pride in every detail—from the angle of your bonnet stripes to the shine on your alloys—getting the application right is worth the effort. Below, we’ve laid out the mistakes that trip people up most often, plus the simple ways to avoid them, so your decals look sharp and stay put.
Not Cleaning the Surface Properly
You’d be surprised how often this step gets skipped, even by people who usually take their time with detailing. Decals stick best to spotless surfaces, so if there’s any trace of grime, wax or grease, the adhesive just won’t bond like it should. Before you even peel the backing off, give your car panels a proper once-over.
Use a clean microfibre cloth and a mild, alcohol-based cleaner—nothing oily or too harsh. Steer clear of household products like glass polish or furniture sprays, as they can leave behind a residue.
Common surface offenders:
Dust and grit from the road
Wax or polish remnants
Grease or fingerprints from handling
For long-lasting results, especially with car side graphics, getting the prep spot on makes all the difference.
Applying Decals in Extreme Temperatures
Temperature might not seem like a big deal, but it can absolutely mess with how your decal sticks. If it’s too cold, the adhesive stiffens and struggles to grip. Too hot, and it can become too soft or tacky, which can lead to stretching or bubbling during application.
Ideally, you want a stable environment—something between 10°C and 25°C is a good shout. If you're working outdoors, early morning or late afternoon is usually more forgiving than peak midday heat.
If you’ve got access to a garage, use it. And if the weather’s against you? Wait it out. It might feel like a delay, but your decals will thank you for it later with a smoother, longer-lasting finish.
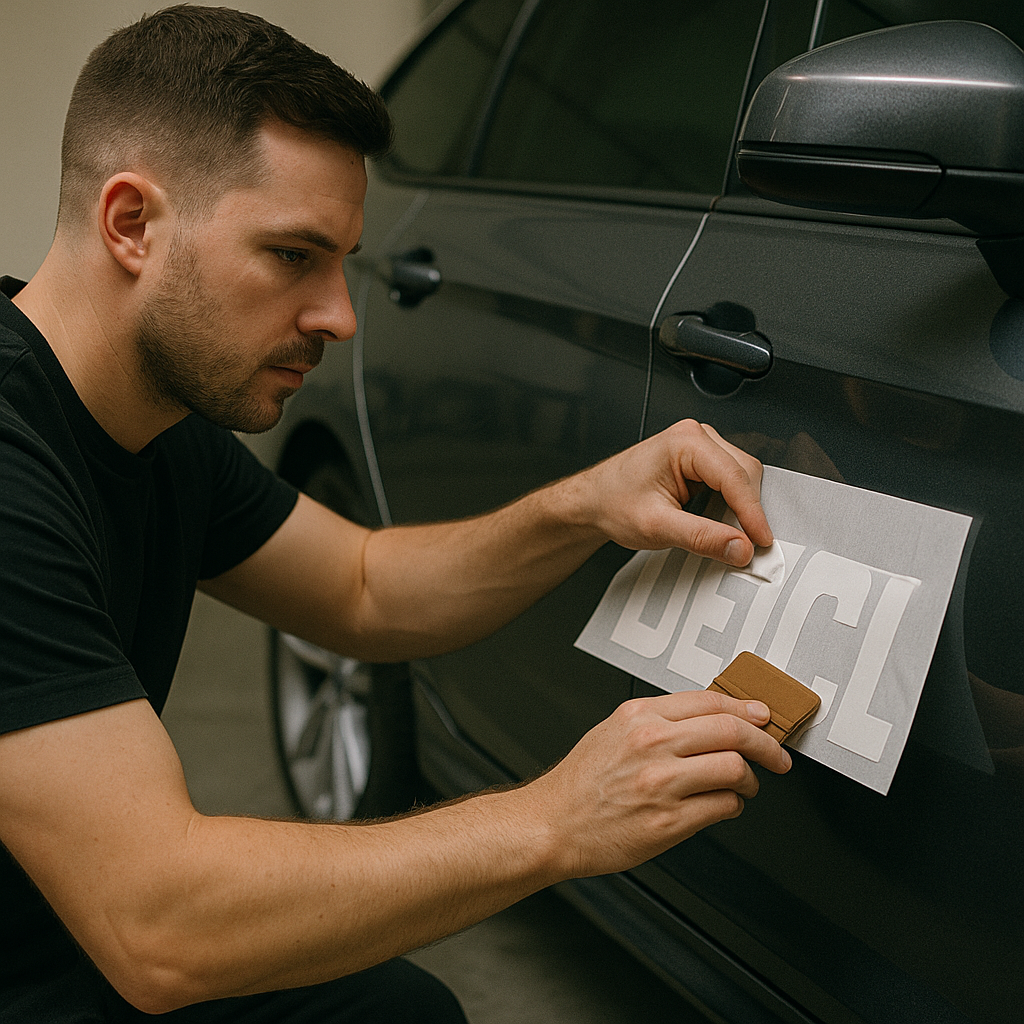
Ignoring Proper Alignment and Positioning
You’ve only got one shot to get the placement right—unless you fancy peeling it off and starting from scratch. Even the best-looking decal can look a bit off if it’s slightly skewed or uneven, and once it’s stuck, correcting it can be tricky.
Instead of eyeballing it, here’s a simple way to get it spot on:
Clean and dry the surface thoroughly.
Use masking tape to create guides where the decal edges should sit.
Peel back just a section of the backing and stick down one edge lightly.
Check alignment again before pressing the rest into place.
That little bit of prep can make all the difference. Whether it’s bold lettering or fine lines, proper positioning means your vehicle decal application looks sharp, not slapdash.
Using the Wrong Application Technique
Not all decals are created equal—some are easier to manage with a bit of water, others need a dry surface to stick properly. If you pick the wrong approach, you could end up with wrinkles, bubbles, or patchy adhesion.
Here’s a quick guide to help choose the best way to apply vinyl decals:
Choosing the right method keeps the whole process a lot smoother—literally.
Rushing the Installation Process
Applying a decal isn’t a race, even if you’re itching to see the final result. Go too fast and you’re more likely to end up with creases, trapped air, or edges that don’t stick down properly. It’s the kind of mistake that shows, especially under sunlight or close inspection.
Set aside some quiet time when you’re not likely to be interrupted. Give each step its moment, from lining up the decal to smoothing it out. Let the adhesive settle before driving off or washing the car. A bit of patience now saves a load of hassle later.
Not Using the Right Tools for Application
Even the best decal won’t stick properly if you’re trying to smooth it down with your sleeve. Using the right tools doesn’t just make the job easier—it helps prevent bubbles, creases, and stretched vinyl.
Here are the go-to tools that make a real difference:
Squeegee – For smoothing out air pockets without damaging the surface.
Application fluid – Lets you reposition large decals before final placement.
Heat gun or hairdryer – Helps the vinyl flex around curves and contours.
Craft knife or precision blade – Neat trimming around edges or tight spots.
If you’re missing any of these, Demon Graphics has a solid range of fitting tools to help you get it right the first time.
Failing to Remove Air Bubbles Correctly
Nothing spoils a fresh decal quite like a stubborn air bubble. Not only do they look rough, but they can weaken the adhesive over time if left trapped underneath.
If you spot a bubble after applying, here’s what to do:
Use a squeegee to gently push the bubble toward the nearest edge.
For small, stubborn ones, carefully prick the bubble with a pin or needle.
Smooth over the area again with firm pressure.
If needed, apply a little heat with a hairdryer to soften the vinyl before re-smoothing.
It’s all about a light touch—no need to overdo it.
Skipping the Final Sealing and Curing Step
You’ve lined it up, smoothed it down, trimmed the edges—nearly there. But skipping the last step can undo all your effort. Curing gives the adhesive time to fully bond with the surface, which helps your decal stay in place through weather, washing and wear.
Try to leave the vehicle parked up for at least 24 hours, ideally out of direct sunlight or rain. And resist the urge to wax or clean the area too soon—give it time to settle first.
If you’ve got any questions about curing or aftercare, just head over to our contact us page—we're happy to help.