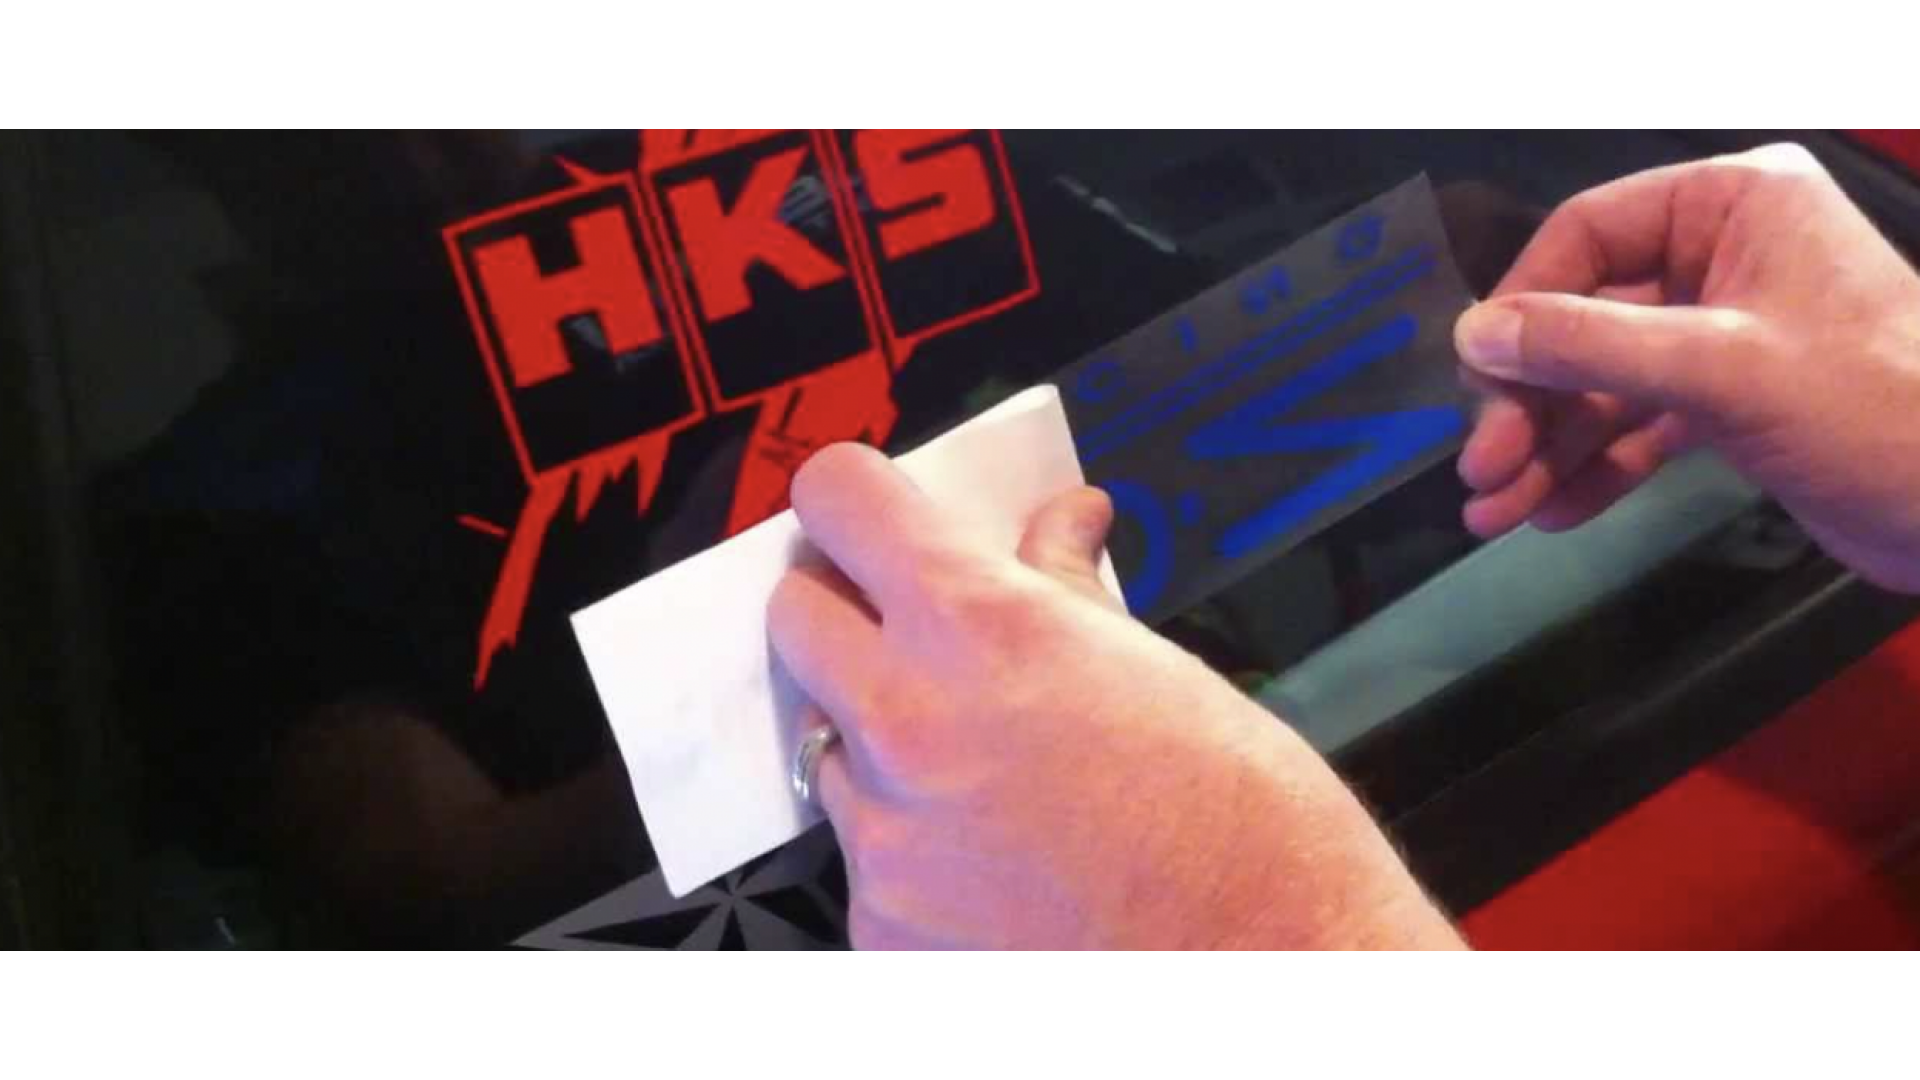
Adding a custom touch to your vehicle with stickers is a fantastic way to express your personality or promote your brand. However, the key to a polished look lies in proper installation. In this blog post, we'll guide you through the step-by-step process of installing car stickers with precision and finesse, ensuring a sleek and professional finish.
Step 1: Gather Your Materials: Before you begin, make sure you have all the necessary materials on hand:
- Car stickers
- Cleaning supplies (rubbing alcohol, microfiber cloth)
- Measuring tape
- Masking tape
- Squeegee or credit card
- Utility knife or scissors
Step 2: Prepare the Surface: Clean the area where you plan to apply the sticker thoroughly. Use rubbing alcohol and a microfiber cloth to remove any dirt, wax, or residue. Ensure the surface is dry before moving on to the next step.
Step 3: Measure and Align: Use a measuring tape and masking tape to mark the desired placement of your sticker. Take your time to ensure the sticker is centred and aligned with the contours of the vehicle.
Step 4: Peel Off the Backing: Carefully peel off the backing of the car sticker, exposing the adhesive side. Start from one corner and peel it away slowly, making sure the sticker stays flat and doesn't fold onto itself.
Step 5: Apply the Sticker: Align the sticker with the marked placement on your vehicle. Once satisfied with the positioning, start applying the sticker from one side to the other, smoothing it out as you go. Use a squeegee or credit card to eliminate air bubbles and ensure a tight bond with the surface.
Step 6: Smooth Out Air Bubbles: If you notice any air bubbles under the sticker, use the squeegee to gently smooth them out. Work from the centre toward the edges to push the air bubbles out. Alternatively, you can pop them with a sewing needle and work the air out to the pin prick created.
Step 7: Trim Excess Material: If your sticker has excess material or if you're working with a larger decal, use a utility knife or scissors to carefully trim away the excess, following the contours of your vehicle.
Step 8: Final Inspection: Step back and inspect your work. Ensure the sticker is securely applied, and there are no bubbles, wrinkles, or misalignments. Make any necessary adjustments before the adhesive fully sets.
Tips for a Professional Finish:
- Avoid Direct Sunlight: Choose a shaded area for installation to prevent the sticker from sticking prematurely or becoming distorted in the sun.
- Work Methodically: Take your time during each step, ensuring precision and attention to detail.
- Start Small: If you're new to installing car stickers, practice with smaller decals before attempting larger ones.
Conclusion: Hit the Road in Style! With these step-by-step instructions, you're now equipped to install car stickers like a pro. Whether you're adding a personal touch to your vehicle or promoting your business, the key is patience and precision. Hit the road in style, showcasing your unique flair or brand message with confidence. Stick, drive, and let your vehicle become a canvas for your individuality or promotional endeavours!

